Starting a blog can be a life-changing decision. It can be a creative outlet, a powerful side hustle, or even a full-time business that gives you the freedom to work from anywhere. But for most beginners, the initial setup feels overwhelming and technical.
Where do you even begin?
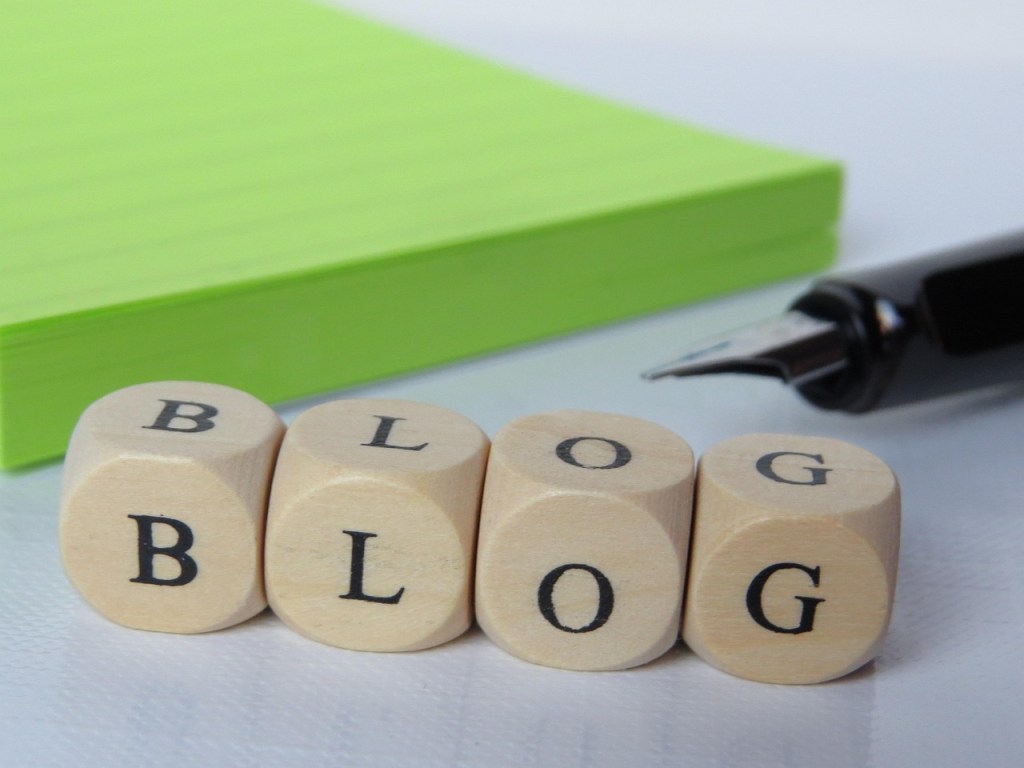
Forget the confusion. This is your ultimate, beginner-friendly, step-by-step guide to starting a successful blog from scratch. We’re going to cover everything from the foundational decisions to the exact technical steps to get your professional, self-hosted blog online.
The Foundation: Choosing the Right Platform
Before you write a single word, you need to choose your Content Management System (CMS)—the platform you’ll use to build and manage your website. For this, the choice is simple: WordPress.
Why WordPress?
There’s a reason WordPress powers over 40% of the entire internet. It’s the undisputed king of blogging, used by everyone from individual creators to global giants like Forbes, TechCrunch, The New York Times, and even Beyoncé.
Here’s why we’re using it:
- It’s Free and Open Source: The core software doesn’t cost a penny.
- It’s Easy to Learn: It has a beginner-friendly interface.
- It’s Infinitely Customizable: With thousands of themes and plugins, you can make your blog look and function exactly how you want.
The Crucial Difference: WordPress.com vs. WordPress.org
This is the most important distinction you need to understand.
- WordPress.com: A fully hosted service where they handle the technology for you. It’s easy, but it’s also very limited. You can’t install many plugins, and your ability to monetize is restricted.
- WordPress.org: This is the self-hosted version. You download the free WordPress software and install it on your own web hosting account. This gives you 100% control, freedom, and ownership over your blog.
To build a truly successful and profitable blog, the self-hosted WordPress.org is the only way to go. This guide will focus exclusively on this version.
Step 1: The Two Things You Need to Get Started
To set up a self-hosted WordPress site, you only need two things:
- A Domain Name: This is your blog’s address on the internet (e.g., berichinfo.com).
- A Web Hosting Account: This is the plot of land on the internet where your website’s files are stored and where you’ll install the WordPress.org software.
For hosting, my top recommendation for beginners is Bluehost. They are one of the most affordable and reliable hosts, they make the WordPress setup process incredibly easy, and they often include a free domain name for your first year. For this guide, I’ll be showing you the setup process using Bluehost.
Step 2: Setting Up Your Hosting and Installing WordPress
Once you’ve signed up for your Bluehost account, the process of getting WordPress live is surprisingly simple.
When you first log in, Bluehost will often launch a setup wizard to guide you. You can follow this wizard, but to get a clean start and follow this guide more easily, you can choose to skip these initial steps. If you see a page asking “How would you like to build your site?”, select the “Limitless Customization” option with WordPress.
You’ll then land in your main Bluehost customer area. Find the button that says “Log in to WordPress” to access your brand-new blog’s dashboard.
Step 3: Creating a Clean Slate
I believe in building from scratch. WordPress hosts often pre-install a bunch of plugins to “help” you, but they mostly just clutter your interface. Let’s get rid of them.
- In your WordPress dashboard, look at the left-side menu and click on Plugins > Installed Plugins.
- You’ll see a list of pre-installed plugins. Click the checkbox at the very top of the list to select all of them.
- From the “Bulk actions” dropdown menu, select Deactivate, then click Apply.
- Once they are all deactivated, select them all again. This time, from the “Bulk actions” menu, select Delete, and click Apply.
This will give you a much cleaner interface and prevent any conflicts later. We’ll add the plugins we actually need in a later step.
Step 4: Your First Customizations
Now let’s make the site feel like yours.
Set a Strong Password
- In the left-side menu, go to Users > Profile.
- Scroll down to the “Account Management” section and click the “Set New Password” button.
- Enter a strong, unique password and click “Update Profile”.
- From now on, you can access your WordPress dashboard anytime by adding /wp-admin after your domain (e.g., yourdomain.com/wp-admin).
Set Your Site Title and Timezone
- In the left-side menu, go to Settings > General.
- Site Title: You’ll see a default name here. Clear it out and type in what you want your blog to be called.
- Tagline: Write a short, catchy description of your blog.
- Timezone: Set this to your local timezone. This ensures your posts are scheduled and timestamped correctly.
- Scroll down and click Save Changes.
A Quick Note: It can sometimes take a few hours after purchasing your domain name and hosting for your website to become fully active worldwide. If you type in your new domain and see an error, just give it a little time.
Congratulations! You now have a live, self-hosted WordPress blog. You’ve built the foundation, and you’re ready to start creating.
Your Blogging Journey Has Begun
Taking these first technical steps is often the biggest hurdle. Now the real fun begins: creating content and building your audience.
What was the most challenging part of this setup process for you? What are you most excited to write about on your new blog? Share this guide if it helped you, like the post to show support, and let’s build our blogs together in the comments below!


Leave a comment